


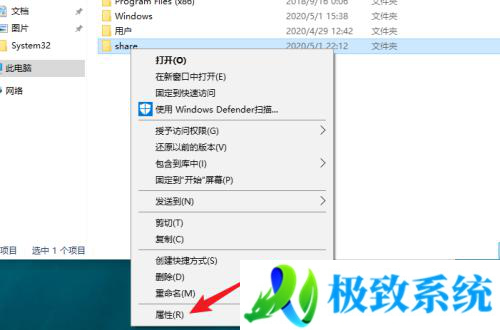
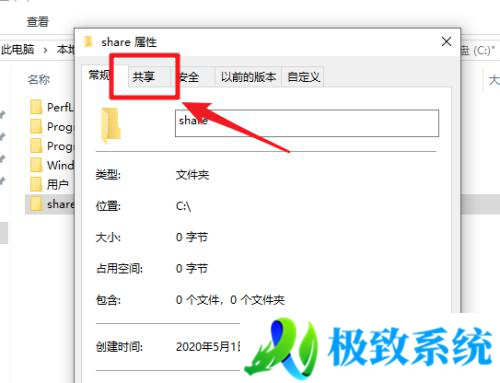
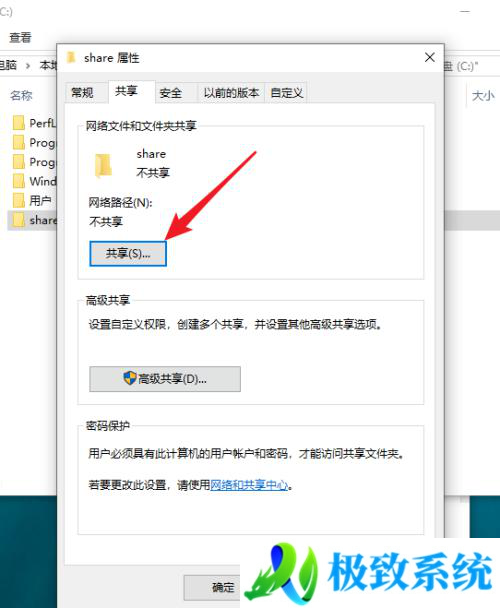
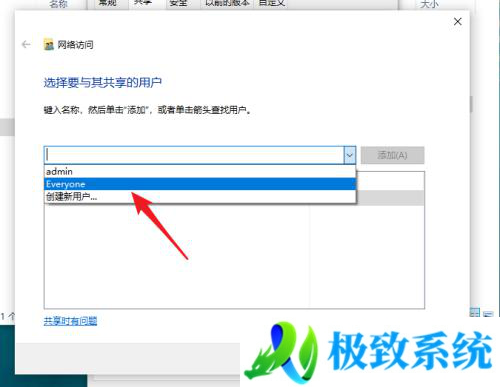
win10怎样共享文件夹 win10如何共享电脑文件夹
2024-03-12 来源:网络


相关文章
-

办公游戏 Windows11 23H2
办公游戏 Windows11 23H2 X64 官方ISO正式版 驱动增强 v2024.03,微软就向Windows 11 23H2用户推出了三月最新累积更新补
2025-01-06 -
万能装机版 1月更新 Windows11
微软最新七月可选更新补丁KB5039302已经发布,用户安装完成版本号升级为22631.3810。此次更新将会逐步推出一些新功能,在“设置”主页上添加了新的Ga
2025-01-06 -
【1.06更新】Windows11 23
【8.16更新】Windows11 23H2 22631.4037 X64 万能装机版,微软为 Win11 23H2 用户带来八月更新补丁 KB5040442
2025-01-06 -

重磅推荐 Windows 11 24H2
重磅推荐 Windows 11 24H2 64位专业版 最新系统镜像 v2024.05,微软面向 Windows 11 24H2 推送 KB5036908 更新
2024-11-08 -

Windows11/10系统永久激活码2
Windows11/10系统永久激活码2025 Office全系列永久激活码2025,安装好Windows系统或Office办公软件之后,如果你不想使用激活工具
2025-02-05

